Foundational Mechanics
Identify, ground, build, aim, confirm, fire, read.
These are the steps that go into every shot you take, in the same order, every time. None of them are complicated on their own. The skill is doing all of them, consistently, without thinking about it.
- Pillar
- The Shot Process
- Level
- Beginner
- Built for
- Foundation Course
- Framing
- Seven steps, in order
Phil walks the mechanics on the line.
Phil Velayo runs the whole sequence live — grounding the rifle, building the position, working through the aiming process, firing sequence, and reading his own impacts. Watch it once now, then read through the seven steps below. You'll catch things the second time you didn't the first.
The mechanics behind every shot.
Foundational mechanics are the building blocks of a single, perfectly executed shot — how you set one up and break it from scratch. This is the backbone of the Foundation Course. Read it before you show up and the range time goes to reps, not lectures.
This is the build — the same cycle that repeats every shot, broken into the seven steps below. Learn the order, learn the why behind each step, and the sequence starts running on its own.
The seven pieces of Foundation Mechanics.
Each portion has a job. Learn the why and the order takes care of itself — you stop reciting steps and start solving the same problem the same way every time.
Identify and orient to the target
Before anything else, visually identify your target. The job here is simple: know exactly where your target is — and think about what's between you and it.
Sounds obvious. But on a stage with multiple targets, or out in the field, shots are often missed because you can't find the target once you're behind the riflescope — or lost to shooting the wrong target instead of a bad trigger press. Find it, confirm it, then go to work.

Ground the rifle
Identifying the target and grounding the rifle go together — almost one move. Grounding the rifle is about where you put the gun: you're positioning it so it's oriented to the target before your body ever gets behind it.
Consider your bipod — adjust the legs to the shot. Or when terrain requires a tripod, set your support up properly the first time, accounting for where the target sits relative to you. Either way, the support points the rifle at the target and carries the weight, so you're not fighting the gun and building a position at the same time.
We teach a high and medial rifle-to-shoulder connection — the recoil pad sits on the collarbone pressed against the neck, not buried in the pocket of your shoulder.
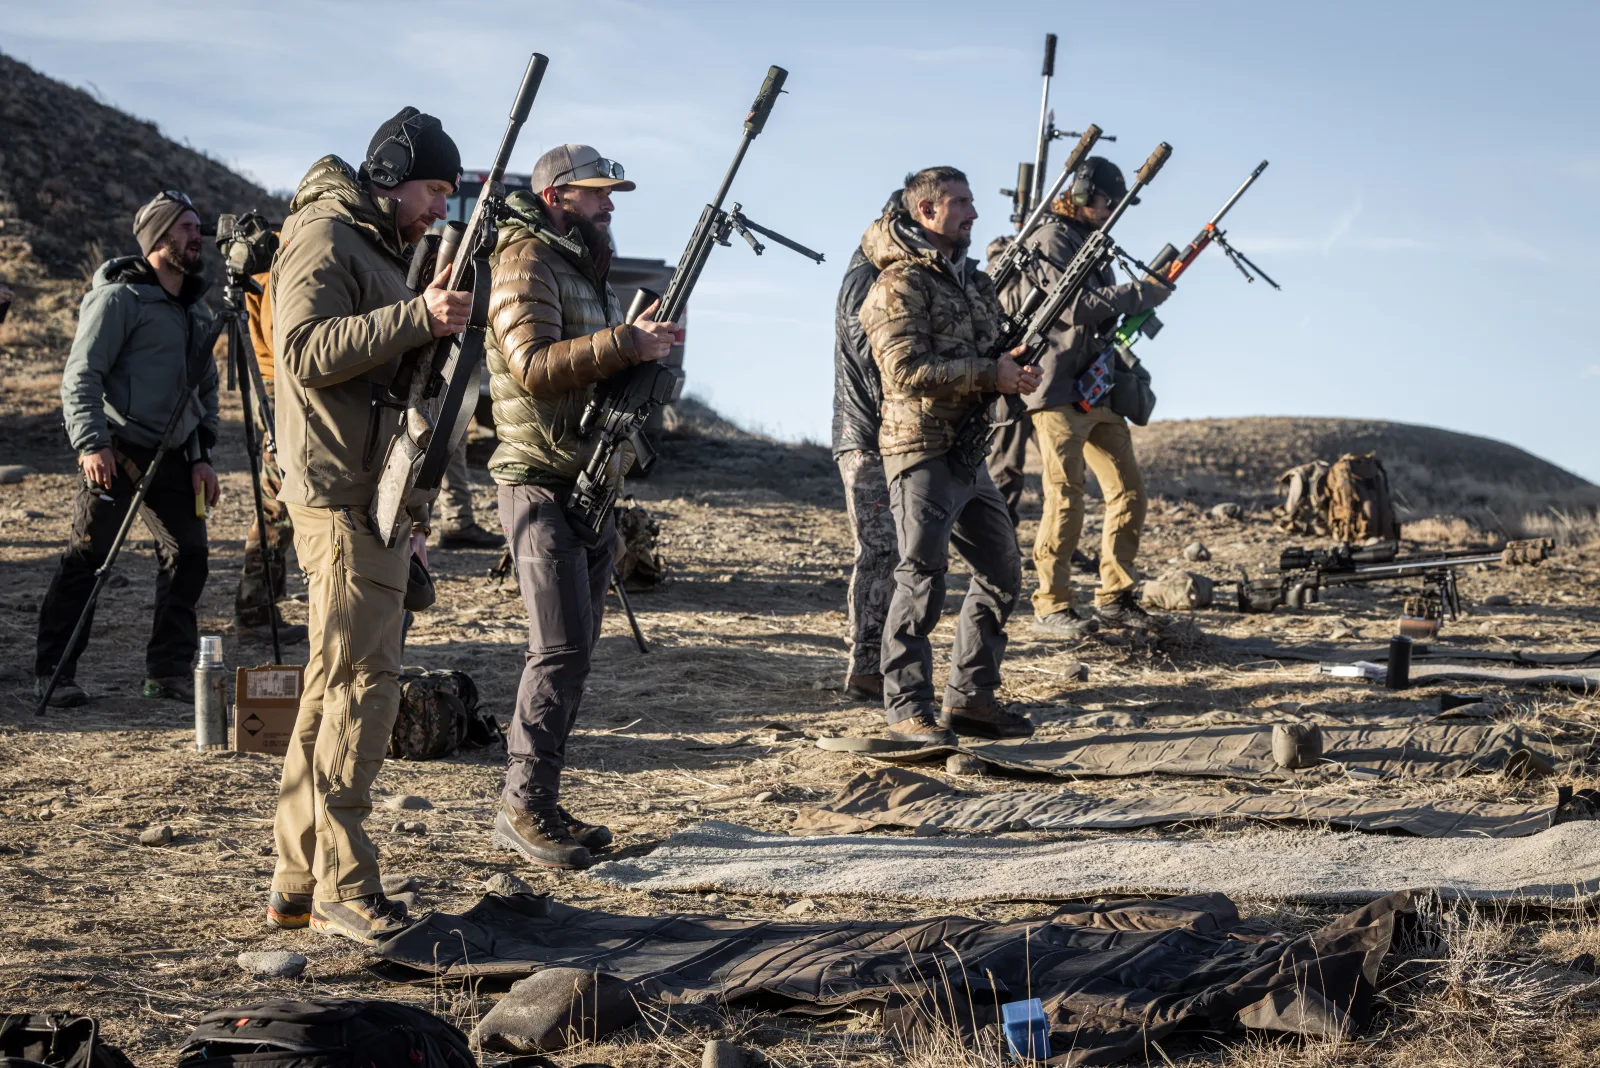
Build your position
Now you get behind the rifle and build the position. Every check below serves one thing — the positional triangle. The pillars of a sound shooting position.
Build it the same way every time so it stands up to recoil and gives you the feedback you need to make a follow-up shot, if necessary.
- Stability Required to break a clean shot. Without it, how can you be sure a miss was the wind? Elevation? Something else?
- Comfort If it hurts or it's a fight, you can't hold it and you can't repeat it. Comfortable means relaxed, and relaxed supports stability.
- Recoil management Square behind the rifle and recoil goes straight back — the gun returns to target and you see your own impact. It's an outcome of how you built the position, and it's what lets you take in the feedback the projectile gives you downrange.
- Square your hips and shoulders to the target
Get behind the rifle square — feet about shoulder-width, weight even between both legs, hips pointed at the target and your shoulders follow.
Most of the left-right wobble shooters fight comes from a body that isn't square behind the gun.
- Build the rifle-to-shoulder connection
High and medial, touching your neck — almost centered on you, not buried in the pocket of your shoulder. Pull the rifle straight back into you so the connection is positive — not a death grip, more taking up the slack.
This is what lets the gun recoil straight back and come right back on target — so you can see your own impact.
- Check your elbows
Set your elbows relatively even and natural, not forced — and still able to run the bolt without breaking the position.
- Firing hand placement
Place the firing hand so you can reach the trigger and hold a consistent grip — same grip, same pressure, every shot. Consider letting your thumb ride on the side of the grip, not wrapped over the top.
That hand position sets up a 90-degree trigger press: Prep, Place, Press, Pin.
- Support your position
Once you're on target with a solid position built, supplement it by filling space with a rear bag. You should already have a solid base; the rear bag complements it.
The bag supports the position — it doesn't fix a bad one. Lean on it too hard and you're compensating for a position that isn't built. The results will speak for themselves.
- Pressure
With the rifle-to-shoulder connection — recoil pad high and medial, pulled back into you — the pressure lives in that shoulder connection, not out front on the bipod. Keep the forward pressure light; pull the rifle into you and let the connection take the slack out of the system.
How we teach it nowWe used to teach loading hard into the bipod. We don't lean on that anymore. The shoulder connection does the work.
Aiming process
The aiming process starts even before you look through the optic.
- Natural point of aim
Your rifle and your body's orientation combined equate to your natural point of aim. Confirm it with a breath check:
- Eye on the reticle.
- Close your eyes, deep breath in, breathe out.
- Open your eyes and read the reticle. Where does it fall?
On target? Your natural point of aim is good. Drifted off? Your body is pointed somewhere else and you'll be forcing the gun on target. Fix it with the body — macro to micro adjustments, nudge your hips left or right, forward and back — then check again, breathe in, breathe out, and repeat until the reticle falls centered on your target at the bottom of your breath.
Steve Holland walks through establishing natural point of aim on the range — and shows how skipping it hurts your rifle stability and recoil recovery:
- Sight package — alignment and picture
A clear view of the target through the optic, no scope shadow.
- Sight alignment first — center the eye box, kill the scope shadow.
- Then sight picture — the target sitting clean in your reticle.
- Consider a jaw weld — it sets your head naturally behind the optic.
- Wobble zone management
Once you've got a proper connection with the rifle, there's almost always some inherent movement of the reticle. This is where the fine adjustments from your support hand come into play — whether on a support bag or the forend, it's a balance between relaxation and the pressure you apply to eliminate the movement.
Confirm the target package
Position's built, reticle's on target. Before you commit, apply or confirm the data.
- DOPE
Data On Previous Engagements. Check your elevation and dial to the MILs or MOA the target calls for.
- Parallax
Match the focal plane in the optic to the target.
- Wind and magnification
Make your initial wind call and dial it. Then set your magnification. You probably started zoomed out to find the target — now come up enough to see it clearly. Somewhere around 10 to 15 power is a good ballpark, but in the end it's shooter preference.
Ask yourself: can I see the detail of my target and reticle? Is my field of view wide enough to catch my impact on target?
- Check cant
Level the rifle to gravity. A canted rifle throws the bullet off at distance — and it's easy to miss, because the range can look level to your eye while the rifle isn't actually level. Trust your bubble, not the terrain.
Firing sequence
The last looks and the press itself. This is where the shot actually happens — confirm the call, level the rifle, run a clean press, and keep your eyes working through it.
- Final wind call
The call you made thirty seconds ago may already be stale. Before you break the shot, read the wind one more time:
- Did it change direction?
- Did it pick up?
- Did it die down?
You already dialed your wind back in the target package. If it shifted, you don't have to re-dial — hold the difference and send it. Either way, keep tracking it and make the final call yours.
- Check cant again
All those macro and micro adjustments you just made to your position can leave the rifle canted a little without you noticing. One more quick look — if you've got a bubble level, peek at it — then trust the wobble zone.
- Breathing
Check your breathing. You want the shot to break at your natural respiratory pause — the bottom of the exhale, where the press finishes. You're not holding your breath, and you're not dying for air — it's just the natural pause in a normal breath.
The point is consistency. Break one shot on a full set of lungs and the next on an empty exhale and you've sent two different rounds. In a perfect world… same breath, same point, every shot.

- Trigger press
Straight to the rear — 90 degrees to the trigger, ideally on the first pad and in a consistent position. Four moves:
- Prep — firing hand placement establishes the proper hand position and alignment.
- Place — first pad of the finger on the shoe, same spot every time.
- Press — straight back at 90 degrees, smooth, no anticipation, at the bottom of your respiratory pause.
- Pin — pin the trigger to the rear and hold it through the shot.
- Eye focus
When the shot breaks, it's a moment stuck in time, waiting for your impact. Relax your eye and look to the target — you're waiting to observe where the round actually impacts, the feedback you've been waiting for.
You're spotting the shot: did it hit, and if it missed, was it right or left, high or low? That's the read you carry straight into locating the impact in the post-shot process.
Keep your face on the gun. #KYFOTG
— Phil VelayoInexperienced shooters often pull their head off the stock the instant the shot fires — usually from poor recoil management and losing the target in the field of view. But you've built a solid position, you have a proper rifle-to-shoulder connection, and you've managed recoil — so stay in the optic and let your eye settle on the target so you see the round impact.

Post-shot process
The shot breaking is the middle of the sequence, not the end. The post-shot process is what turns one round into something you can use — and it's the part most shooters skip.
- Where did you break your shot
Ideally your position is so stable the rifle may as well be in a vise. But you're human, so the shot doesn't always break where you intend it to. Your job here is to call your shot — name the last place you saw the reticle as it broke, honestly, before you ever look at the impact.
A shot breaking off center is bound to happen — knowing the why keeps it from becoming a trend.
- Evaluate your recoil impulse
Read how the rifle recoiled. If it fired, recoiled, and settled right back on target, you set up properly and your position was stable enough to handle recoil.
If it threw you off target, the position wasn't built properly — correct it. Don't beat yourself up over it; that's the position talking, not you.
Recoil management is the outcome of the position you built. If I don't like the way the reticle moves, I change something.
— Phil Velayo - Locate the impact
Pin the trigger to the rear so there's no excess movement, let the recoil happen, and look for where the round lands. Ideally you catch the trace, then the impact on the target — or the splash of a miss.
Lag timeLag time is the momentary pause your body takes as it eats the recoil — the rifle fires straight back into you and there's a beat before you come back to your senses. This is natural; time and experience will shorten it. The faster you're back behind the glass, the more likely you are to see the round land.
Then read it honestly:
- Impact or miss? Did it hit the target or sail past it?
- If it hit — center, or off center of where you aimed?
- If it missed — off the left edge or the right? High or low? How far?
What's behind and in front of the target matters here. With no backdrop, high and low are hard to read — at best you'll call left or right and use judgment on elevation. A good backdrop lets you read the whole miss.
- Answer the why
Why did it land there? Reconcile your shot call against the impact. The gap between the two is the lesson — but only if you read it honestly.
- Broke it clean in the center and it still hit off? Your dope or wind call was off.
- Broke it right and it hit right? That may have been you, the wind, or both.
- Run the bolt
Now get back in battery — but do it without losing the target. The whole goal of bolt manipulation is to return the rifle to battery while keeping the reticle on target through the full cycle.
Two goals, in priority order:
- Stay in battery — round chambered, ready to fire.
- Keep the reticle on target — through the entire stroke.
Whether that is a five-step or six-step cycle depends on your action — your bolt throw and how the knob sits in your hand.
Smooth, not necessarily fastRunning the bolt aggressively is the common mistake. The half-second you gain is lost on the back end — repositioning, reacquiring the target, and fixing the cant a violent throw put into the rifle. The speed comes from smooth mechanics, not force.
Velayo's feel benchmark: Tikka actions are the smoothest off the shelf. He has since moved to AW-cut actions for their low-profile magazine fit in the field.
- Assess and apply the correction
Apply the right correction to the right problem.
- Bad wind call or dope — measure the correction, to center not the edge, and apply it before the next round.
- Shooter error — the fix isn't on the turret. The position was unstable and the shot broke where you didn't intend: too much wobble, a jerked trigger, something in your mechanics that wasn't set. Aim center, shoot center, and clean up whatever broke the press.
Match the correction to the cause.
- Re-engage if needed
If you missed, or the target calls for another round, send it again. With the correction on the gun and the bolt already run, you are set up to break the next shot — the same process, start to finish.
Run it in order. Every time.
Seven steps, one sequence — start to finish on every shot. Each step hands off to the next, and the read at the end feeds the next shot. That's the loop.
- 01 Id target
- 02 Ground rifle
- 03 Build position
- 04 Aiming process
- 05 Confirm target package
- 06 Firing sequence
- 07 Post-shot process
None of this is a secret. The shooters who hit do these same things on every shot — they've just done them enough that it happens without thinking. Start slow. Call each step out loud until the order is automatic, then let it disappear into how you shoot.
Where this fits.
Build it with us behind the rifle.
Reading the steps gets you started. Drilling them on the line — with an instructor calling what your reticle is telling you — is how they become automatic.