Intro to Tripod Shooting
Build a tripod position you can sustain, observe through, and repeat.
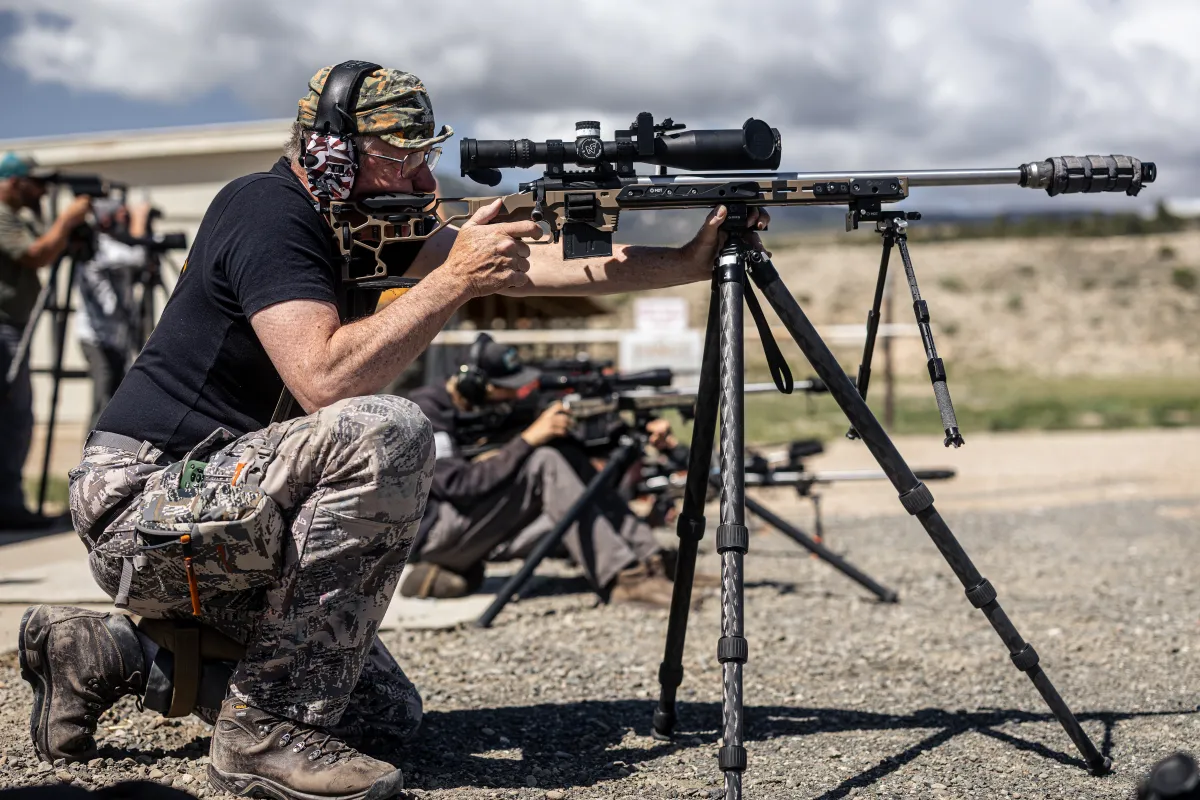
Tripod shooting is not a foundational shortcut. It is a performance tool for shooters who already understand rifle fit, the firing sequence, natural point of aim, and recoil management. Phil's lesson gives the framework: pick the right support, set the height, ground the rifle, build the body behind it, tune the head, and read the shot.
- Pillar
- The Shot Process
- Level
- Advanced
- Built for
- Advanced + Performance
- Watch time
- Tripod clinic
Not foundational. Not optional for many advanced shots.
A tripod lets you build height where prone is not available, stabilize glass or a rifle, and solve a stage or field problem from standing, kneeling, or seated. The catch is that it adds another mechanical system between the shooter and the rifle. If your fundamentals are loose, the tripod will show it.
This belongs in the competition and performance track because the goal is not simply to "shoot off a tripod." The goal is to keep the rifle pointed, keep the body square, manage recoil, and still see useful information after the shot breaks.
The tripod is not one piece of gear.
Phil separates the problem into the tripod body, the head, and the shooting platform. Each one changes how fast the rifle gets grounded and how well the shooter can manage recoil.
Tripod body
Leg diameter, leg sections, collapsed length, and apex width all change how fast the tripod deploys and how much support it gives the rifle.
Head and controls
Fixed heads, versa platforms, ball heads, and inverted tripod designs all solve different problems. Put the controls on the support side so the firing hand can stay with the rifle.
Rifle interface
Direct ARCA clip-in is fast and clean when the rifle supports it. Tactical tables and saddles keep non-ARCA rifles in the game, with different tradeoffs.
Five steps before the shot means fewer guesses after it.
The process stays the same whether the rifle is clipped in, riding a bag on a tactical table, or clamped in a saddle. The details change. The order does not.
Select the height
Set the platform where the rifle will rest about 4 to 6 inches above your solar plexus. Use that same reference in standing, high kneeling, low kneeling, and seated. Adjust for uphill or downhill targets.
Ground the rifle
Stage the tripod to the target before your body gets involved. On a flat range, Phil prefers one leg forward and two legs behind so recoil comes straight back instead of landing on a single rear leg.
Build body position
Square up behind the rifle the same way you would in prone. Build the rifle-to-shoulder connection, ease into the target, and use reticle movement during breathing to confirm you are not bladed off.
Aim and time the head
Run sight alignment, sight picture, and natural point of aim while you tune the ball-head tension. Phil looks for the sweet spot, often around 60 to 80 percent, instead of crushing the head to 100 percent and creating mechanical jitter.
Fire, follow through, observe
Do not just ask where the bullet landed. Watch the reticle jump, recoil path, and how the rifle returns. Then adjust face pressure, forward pressure, rearward pressure, or support-hand pressure to clean up the pattern.
Standing, high kneeling, low kneeling, seated.
These are the four reference positions Phil works from. There are in-betweens, but the baselines give you known heights and known mechanics.
Standing
Use an athletic stance, keep the center of gravity low, and let the lower body carry weight while the upper body stays connected enough to catch recoil.
High kneeling
Think of it as standing with the legs cut off. Lock the hips, build bone support, square to the rifle, and confirm the reticle is not leaving at an angle.
Low kneeling
As you get lower, widen the tripod legs for stability. Watch for point-of-aim and point-of-impact shift when the rifle is clipped in and the tripod starts absorbing recoil.
Seated
Seated can feel stable, but recoil observation can suffer if the support hand moves too far rearward. Tune rearward and downward pressure until the reticle rises predictably and stays in the field of view.
Direct clip-in, tactical table, or saddle.
There is no universal best method. The right answer depends on mission, rifle interface, speed requirement, and how much recoil behavior you are willing to trade for stability.
Direct clip-in
Fast rifle control with an ARCA rail.
Lower positions can show POA/POI shift because the rifle is locked into the tripod and has less room to recoil naturally.
Tactical table
Bag-supported recoil and useful surface area.
More gear and a slower setup. The table, bag, rifle, support hand, and tripod height all have to work together.
Saddle
Rifles without ARCA rails or when the system is already built around a clamp.
Slower and usually less stable. Do not over-clamp if you still need to cant the rifle and let it recoil.
Make deployment boring before the stage gets complex.
Speed comes from a repeatable setup, not from skipping steps. Once height, controls, body position, and head tension are subconscious, the shooter can spend attention on the stage problem, target package, wind, and shot call.
- Mark or memorize standing, high kneeling, low kneeling, and seated leg heights.
- Set controls on the support side before the rifle is grounded.
- Confirm the rifle is square by watching vertical reticle movement during breathing.
- Find the ball-head tension that tightens the wobble zone without adding micro-jitter.
- Attach far enough forward that the support arm can lock without forcing the body to blade.
- After each shot, record impact, reticle jump, and whether the rifle returned to target.
Tripod work belongs under a coach and a timer.
Read the process, watch Phil run it, then bring it to a class where an instructor can read your body position, reticle movement, recoil path, and stage decisions in real time.